
Cerakoting a gun isn’t just about aesthetics; it’s a way to protect your prized possession from wear and tear while giving it a personal flair. Imagine your firearm looking sharp and ready for action, all while boasting an armor-like finish that can withstand the elements. Who wouldn’t want their gun to look as good as it performs?
But let’s face it—getting into the world of Cerakote can feel a bit intimidating. With so many colors and techniques, it’s easy to feel like you need a degree in art just to get started. Fear not! This guide will break it down, making the process as smooth as your favorite coffee. Get ready to unleash your inner artist and transform your firearm into a masterpiece that’ll turn heads at the range and beyond.
Understanding Cerakote
Cerakote represents a polymer-ceramic coating designed to enhance firearm durability and aesthetics. Many consider Cerakote as the gold standard in firearm finish options.
What Is Cerakote?
Cerakote is a spray applied finish specifically formulated for metal, plastic, and wood surfaces. It provides a thin, protective layer while offering a variety of colors and patterns. Different formulations, such as H Series and Elite Series, cater to diverse needs. H Series focuses on durability, while Elite Series emphasizes resistance to high temperatures. Firearm enthusiasts frequently utilize Cerakote for custom jobs and protective applications.
Benefits of Cerakote for Firearms
Cerakote offers numerous advantages for firearms protection and appearance enhancement. First, it significantly increases resistance to corrosion, which is vital for longevity. Second, the coating protects against abrasions, ensuring firearms maintain their finish over time. Third, Cerakote’s wide color range allows for personalization, appealing to various tastes. Additionally, firearms coated with Cerakote experience reduced friction, improving performance. Lastly, this finish also withstands extreme temperatures, making it suitable for a range of environments.
Preparation for Cerakoting
Preparation is crucial for achieving a high-quality Cerakote finish. This section outlines the essential steps to get the firearm ready for coating.
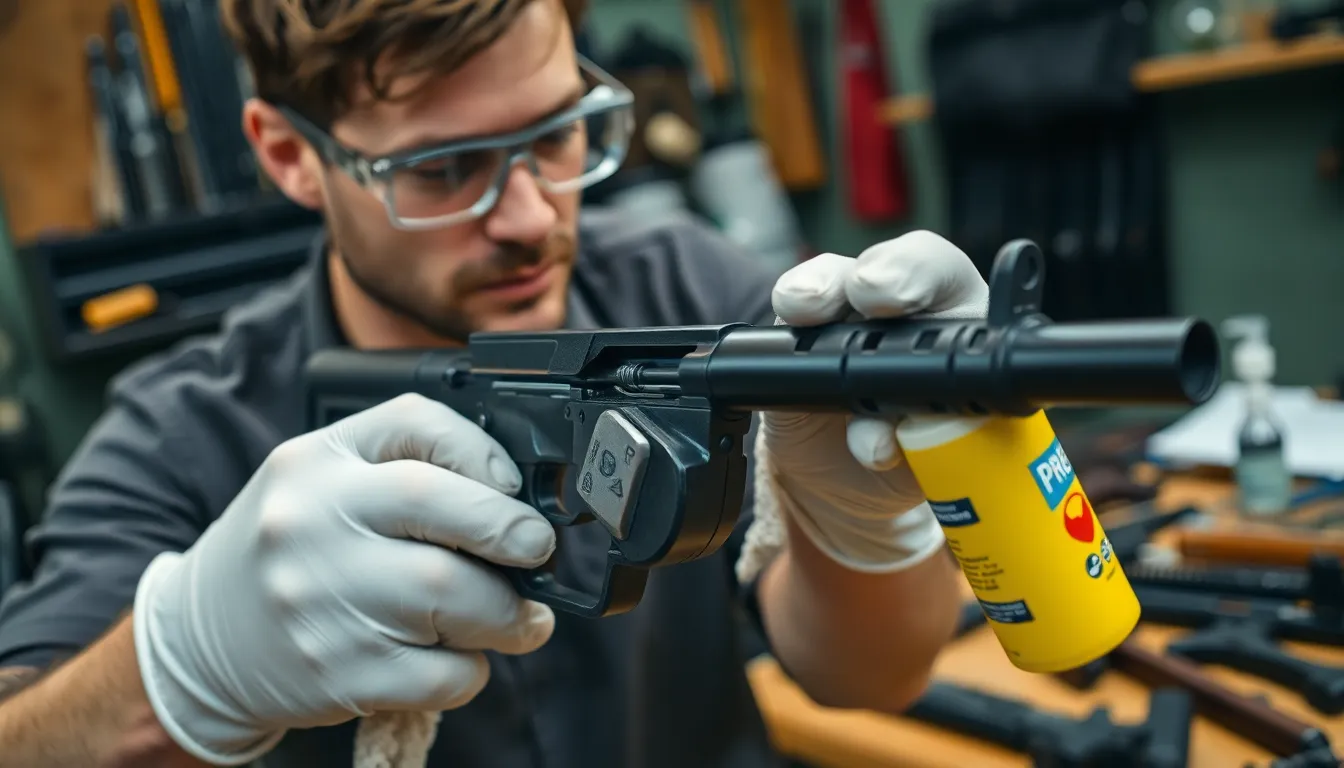
Cleaning the Firearm
Cleaning the firearm is the first step in preparation. Remove all dirt, oil, and debris using a degreaser and a lint-free cloth. Focus on surface areas where Cerakote will adhere, ensuring thorough coverage. Rinse and dry the firearm carefully to eliminate any cleaning solution residue. Use compressed air to blow out any remaining particles from hard-to-reach areas. A clean firearm guarantees better adherence of the Cerakote and enhances the finish’s durability.
Disassembly of the Gun
Disassembly of the gun follows a systematic approach. Begin by checking the manufacturer’s manual for guidance on proper disassembly procedures. Remove components such as grips, sights, and magazines to expose all areas. Separating small parts ensures no overlap occurs during the coating process. Organize parts systematically, ensuring easy reassembly later. Proper disassembly facilitates an even application of Cerakote and helps avoid potential damage to sensitive components.
The Cerakote Process
The Cerakote process involves several important steps for optimal results. Following a meticulous approach ensures a durable and visually appealing finish.
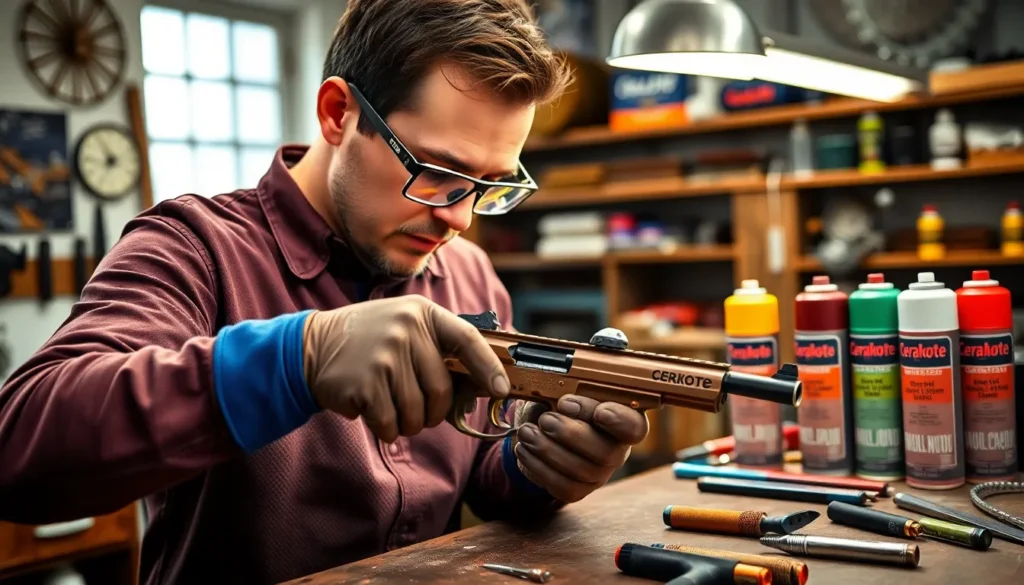
Applying the Base Coat
Applying the base coat marks a crucial step in the Cerakote process. Begin by selecting a color that meets personal preferences and desired outcomes. Utilizing a spray gun or airbrush, evenly apply the base coat to the firearm’s surfaces. It’s essential to maintain a consistent distance of 6 to 12 inches from the surface. Overlapping strokes guarantee complete coverage. Achieving a uniform layer creates a solid foundation for the subsequent application. Allowing the first coat to dry for several minutes leads to better adhesion of any additional coats. Checking for imperfections fosters a flawless finish.
Curing the Coating
Curing the coating solidifies the Cerakote finish. Following spray application, heat the coated firearm in an oven preheated to 250°F to 300°F. This step typically requires one hour for proper curing. Ensure the firearm’s parts withstand these temperatures before proceeding. The heat activates the chemical bonding process, enhancing durability and resistance to wear. After the curing time, remove the firearm from the oven and allow it to cool. Proper cooling ensures the integrity of the finish. Assess the final appearance to confirm an even, professional look.
Tips for a Successful Application
Applying Cerakote effectively ensures a durable and visually appealing finish. Following these tips can enhance the overall quality of the application.
Choosing the Right Color
Selecting the right color significantly impacts the final appearance of the gun. Consider the firearm’s original design and personal preferences when making a choice. Popular options include black, flat dark earth, and olive drab, known for their versatility and stealth. Custom colors, such as metallic and camo patterns, can elevate the aesthetic further. Ensure that the chosen color complements other components for a cohesive look. Always test color samples on a small area to evaluate how it reacts to the Cerakote application before committing.
Tools and Equipment Needed
Having the right tools is essential for a smooth Cerakote process. A quality spray gun or airbrush is necessary for even application and precise control. Acquiring high-quality masking tape helps protect areas not intended for coating, ensuring clean lines. Using a commercial-grade air compressor maintains consistent pressure throughout the application. Additionally, gather safety gear, such as gloves and a respirator, for personal protection during spraying. Ensure that a baking oven is available for curing the coated firearm, as proper heat application is critical for durability.
Maintenance After Cerakoting
Maintaining a Cerakote finish requires proper care to ensure lasting durability and appearance.
Proper Care Techniques
Use a soft cloth to wipe down the firearm regularly. Regular cleaning prevents dirt and grime buildup. For tougher stains, a mild solvent can be applied carefully. Avoid harsh chemicals that might damage the finish. Inspect the firearm after each use for scratches or wear. Address any imperfections promptly to maintain its appearance. Store the firearm in a dry location to prevent moisture-related damage. Ensure it’s protected from impacts or abrasions during transport.
Longevity of Cerakote Finish
Cerakote finishes can endure a significant amount of wear when properly cared for. The average lifespan of a Cerakote finish ranges from 5 to 15 years, depending on use and care. Environmental factors also play a role in the finish’s longevity. While regular use may wear it down faster, careful maintenance extends its life. Heat and UV light exposure can affect the color stability over time. Regular touch-ups help maintain not just function but also visual appeal. Ultimately, investing time in its upkeep safeguards the firearm’s aesthetic and protective qualities.
Cerakoting a gun is a rewarding endeavor that enhances both its aesthetics and durability. By following the outlined steps and tips, anyone can achieve a professional-looking finish that reflects their personal style. The preparation process is vital for ensuring the best results, and attention to detail during application can make all the difference.
Maintaining the Cerakote finish is equally important to prolong its lifespan and appearance. With proper care and regular inspections, the vibrant colors and protective qualities of Cerakote can last for years. This process not only transforms firearms but also allows owners to showcase their creativity while ensuring their equipment remains in top condition.


