

Ever found yourself in a situation where you wish you could capture that epic gaming moment or an important video call on your iPhone? Well, you’re not alone! Screen recording has become the unsung hero of the digital age, allowing users to immortalize their screen activity with just a few taps.
Understanding Screen Recording
Screen recording on the iPhone serves as a powerful tool for capturing activities displayed on the device. Many users find this feature invaluable for various applications.
What Is Screen Recording?
Screen recording captures a video of what’s happening on the iPhone’s display. It’s a built-in feature, accessible through the Control Center, allowing for instant recording of apps and activities. Users can record both audio and visual elements simultaneously, making it ideal for creating tutorials and sharing experiences.
Benefits of Screen Recording on iPhone
Numerous advantages accompany screen recording on the iPhone. First, it enables users to easily save and share content, such as gameplay or instructional videos. Second, this feature facilitates communication, allowing for clearer presentations and demonstrations. Third, it offers an opportunity to create content for social media platforms, enhancing engagement with followers. Lastly, capturing screen activity aids in troubleshooting by recording error messages or unusual behavior, simplifying the support process.
Preparing Your iPhone
Preparing your iPhone for screen recording involves a few simple steps. Users need to check device compatibility and enable the feature in settings.
Checking Compatibility
Compatibility plays a crucial role in accessing screen recording. iPhones running iOS 11 or later support this function. Devices that qualify include the iPhone 5s and newer models. Confirming iOS version is simple: navigate to Settings, tap General, and select About. The version displays at the top. If the version is outdated, consider updating the iPhone through Settings under General and Software Update.
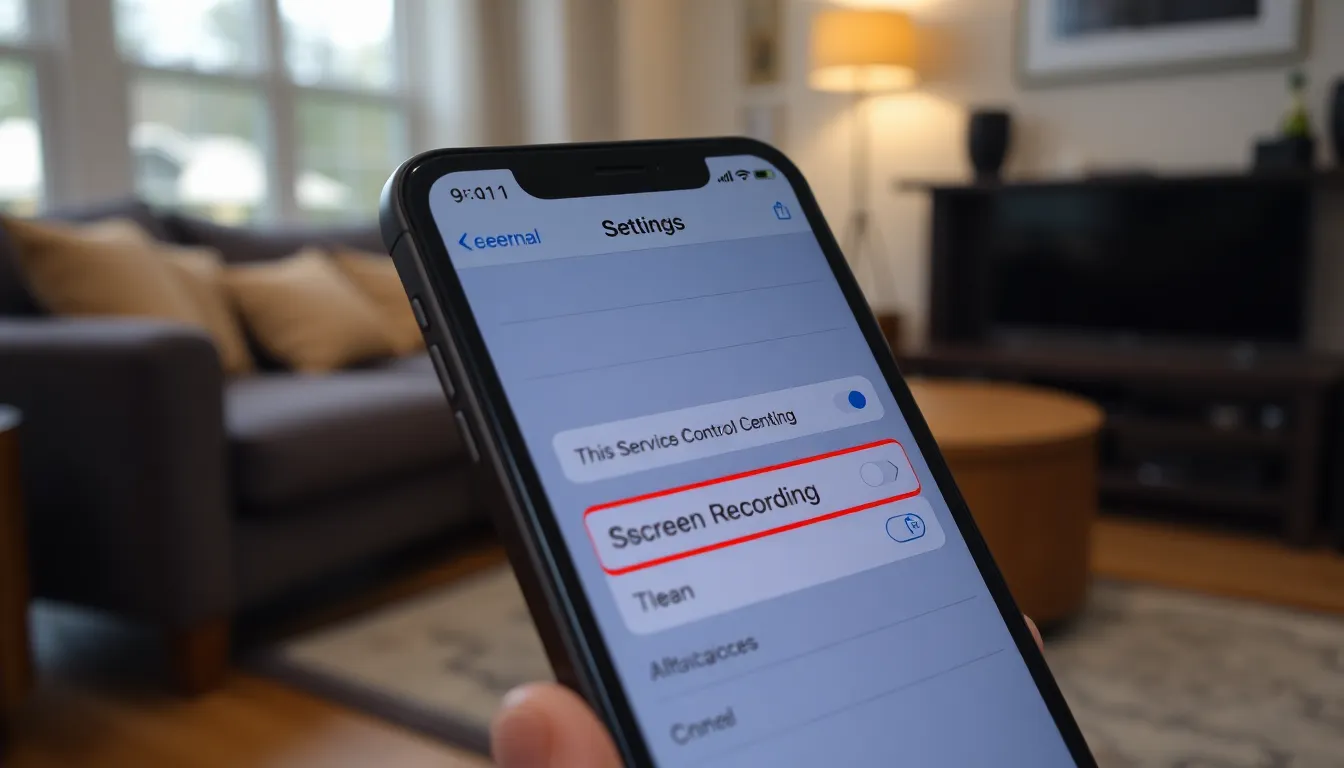
Enabling Screen Recording in Settings
Enabling screen recording requires adjusting the settings. Begin by opening the Settings app. From there, scroll down and choose Control Center. Tap Customize Controls, then locate Screen Recording. Add it by tapping the green plus sign next to it. After this, the Screen Recording icon appears in the Control Center for easy access. Once it’s set up, users can start recording their screens with just a swipe and a tap.
How to Start Screen Recording
Starting screen recording on an iPhone is straightforward once the feature is set up. Follow these steps to successfully capture screen activity.
Accessing Control Center
Accessing the Control Center on an iPhone involves a simple swipe. For iPhone X or later models, swipe down from the top-right corner of the screen. For earlier models, swipe up from the bottom edge. The Control Center hosts various shortcuts, including the Screen Recording icon, if added previously.
Starting the Screen Recording
To start recording, tap the Screen Recording icon within the Control Center. A three-second countdown appears, allowing users to navigate to the desired content. After the countdown, the recording begins automatically. Users can stop the recording by either tapping the red status bar at the top of the screen and choosing Stop or returning to the Control Center and tapping the Screen Recording icon again. Once the recording stops, the captured video saves to the Photos app for easy access and sharing.
Tips for Effective Screen Recording
Effective screen recording enhances the quality and usefulness of captured content. Users can maximize their screen recording experience by following these tips.
Utilizing Audio and Microphone
Audio can significantly improve screen recordings. Users can record internal audio by activating the microphone during the recording process. Press and hold the Screen Recording icon in the Control Center to access this option. When activated, the microphone icon appears red, indicating audio recording is on. This feature is ideal for commentary in gameplay videos or tutorials. Adjusting the volume settings ahead of time ensures optimal sound quality.
Editing Your Screen Recording
Editing provides an opportunity to refine recorded content. Users can access their screen recordings through the Photos app, where basic editing tools are available. Trimming allows for the removal of unnecessary sections at the beginning or end. Users can also apply filters to enhance visual appeal. Adding text overlays or captions can help clarify content. Once editing is complete, users can share their polished recordings via social media or messaging apps.
Troubleshooting Common Issues
Users may encounter issues while screen recording on their iPhones. This section addresses common problems and provides solutions.
Screen Recording Not Starting
When the screen recording doesn’t start, it often results from settings. First, check if Screen Recording is enabled in the Control Center. Users should access Settings, then Control Center, to confirm. Restarting the iPhone may resolve temporary glitches. After restarting, attempting to initiate recording again often helps. If the problem persists, resetting settings might be necessary. This reset won’t delete files but will restore default settings, potentially fixing the issue.
Poor Quality or Lagging
Poor video quality or lagging often frustrates users. High-resolution settings can lead to performance drops, especially on older models. Reducing the resolution enhances performance during recording. Closing background apps before starting can also help. Additionally, device storage should be assessed; insufficient space might impair recording quality. It’s advisable to ensure enough storage is available for saved recordings. Lastly, checking for iOS updates may fix bugs affecting quality. Installing the latest software can enhance overall performance and mitigate these issues.
Screen recording on an iPhone is a game changer for capturing important moments and sharing experiences. With just a few taps in the Control Center users can easily record their screen activity and create engaging content. The feature not only enhances communication but also serves as a valuable tool for troubleshooting and tutorials.
By following the simple steps to enable and start screen recording users can unlock a whole new level of functionality on their devices. Whether it’s for personal use or sharing with others the benefits of screen recording are undeniable. Embracing this feature can lead to more effective communication and creativity in the digital space.


